So much cooking happened on Sunday. Here’s a list of what we made.
Erbinger’s Blackout Cake
Founder’s Breakfast Stout spicy mustard
Alton Brown’s Best Mustard
Vegetable stock
Canned chai spice pears and apples
Canning season is upon us. This means that many of my free weekend days will be devoted to either picking produce or canning it. In preparation for that, we decided to make a double-batch of broth, and a double-batch of mustard, as we will have no time to make either of these things until late in the fall.
The Cake
As I was planning a whole day in the kitchen, I saw this recipe. I don’t really like cake, but my curiosity was too much to resist. After reviewing the ingredients list, I realized that I had all of them except the cocoa and chocolate. The cocoa and chocolate set me back thirty bucks. That’s right three zero. When I consider what it must have cost to make this in the late 1800’s my brain explodes.
While the blogger in the NPR article complains more than I deem necessary–seriously all cake from scratch is a pain in the ass–I did spend a solid three hours preparing this cake. Given that I am not a cake expert, I was a bit concerned with getting the cakes out of the pan, and subsequently slicing them in half and constructing the layers. To my surprise, that was a cakewalk. Oh puns.

Here’s one of the cake’s just out of the pan. They came out of the pans with no problem.

This is the melted chocolate that was used in the icing.
The cake turned out well. The only thing that might have gone a bit better was how the filling set-up. I think I didn’t allow the filling to boil long enough to make it set-up properly. It was just a bit runny when I spooned it on the cake layers. I invited friends to drop by and sample the cake through out the day. They all seemed pleased with it. I liked the cake despite my general dislike for cake. I thought it would be considerably richer than it was, given the ingredients list. But the cake was a really nice balance of sweet and rich. It didn’t overwhelm, and make me feel a little disgusted after bite three, which is my typical cake experience. I will gladly make this again.

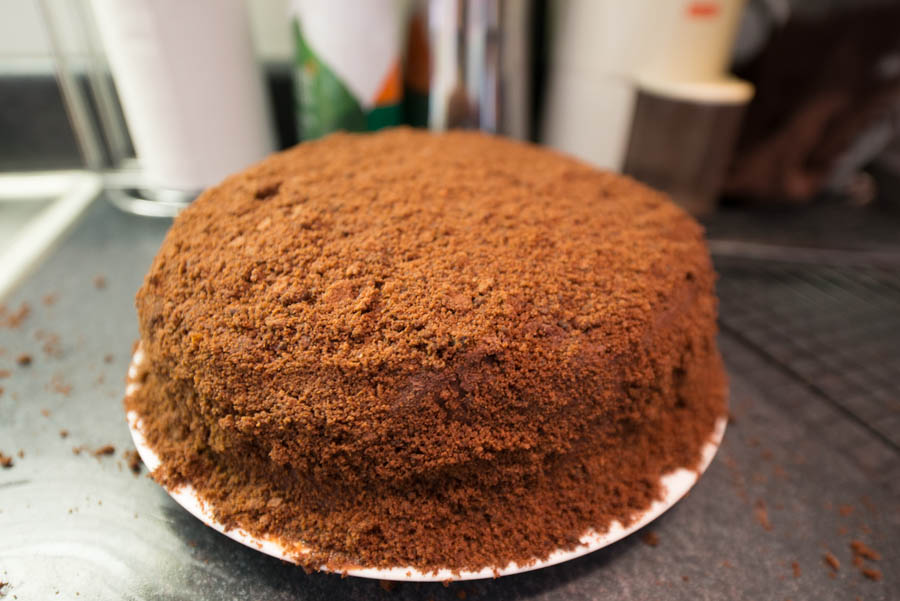
Here’s the cake before we cut it.

Here’s the cake after we cut it. One thing that NPR got completely right is that this cake has almost no self-life. The icing gets really dry if refrigerated. The pudding gets runny if left out.
The Mustards
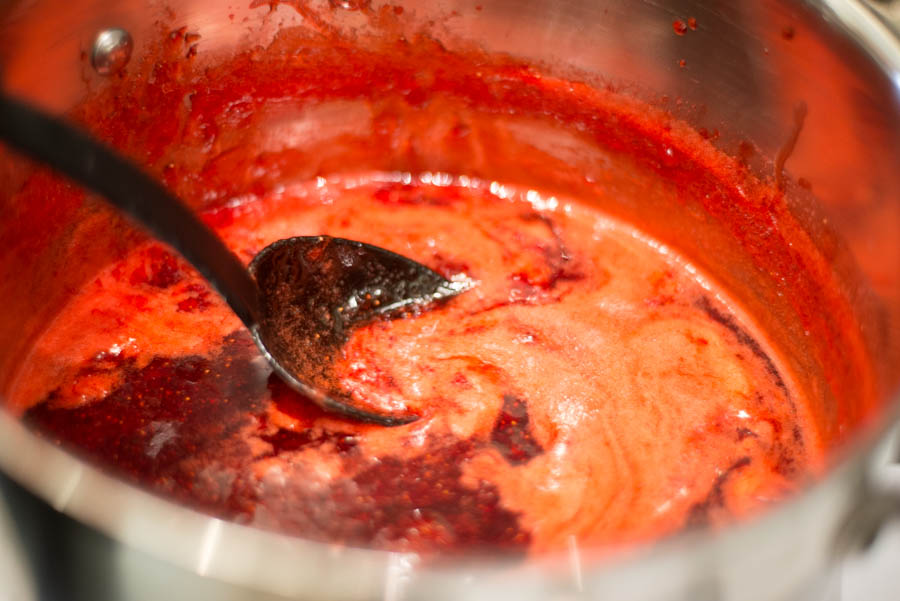
Homemade mustard is easy to make, keeps well, and tastes light years better than store bought. If you haven’t tried to make mustard, for god’s sake do it. You have zero excuses for not trying one of these recipes. This is a nice standard yellow mustard. If you have an immersion blender, you can make this as smooth or textured as you wish. It has depth of flavor that I didn’t know was possible in mustard. I ate all of our first batch on black bean burgers in about a month. I can’t wait to try it on soy dogs this summer.
And given that I am a beer nut, I wanted to try out a beer mustard. I happened to have a couple of bottles of Founder’s Breakfast Stout on hand. Everything with this recipe worked well, except the resulting mustard was a little too thick for my personal preference. No worries, just add more beer. The mustard turned out so great that I have been searching for things to put it on. I want to buy soft pretzels to dip in this mustard. I want to smuggle my own mustard in to eateries so I don’t have to suffer through French’s.

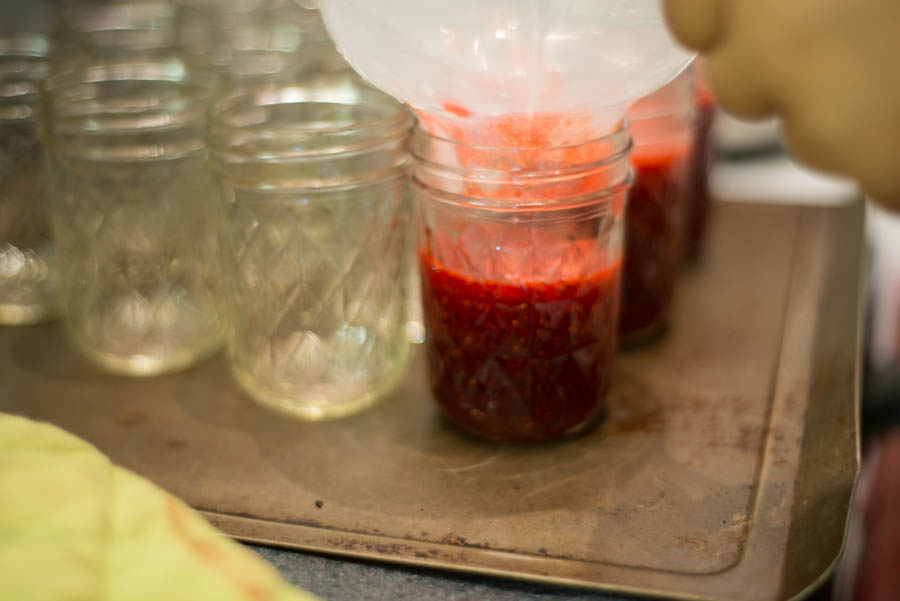
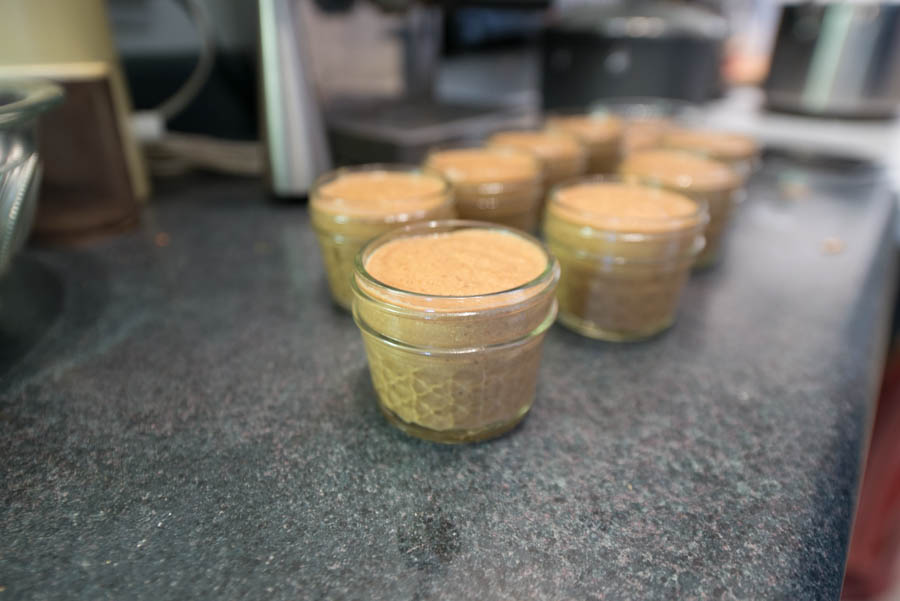
Here’s the yellow mustard in the little three oz jars. They are adorable. We didn’t can this because the amount is insignificant enough to store in the refrigerator.

Here’s the mustard seeds and the Founder’s Breakfast Stout working their magic.

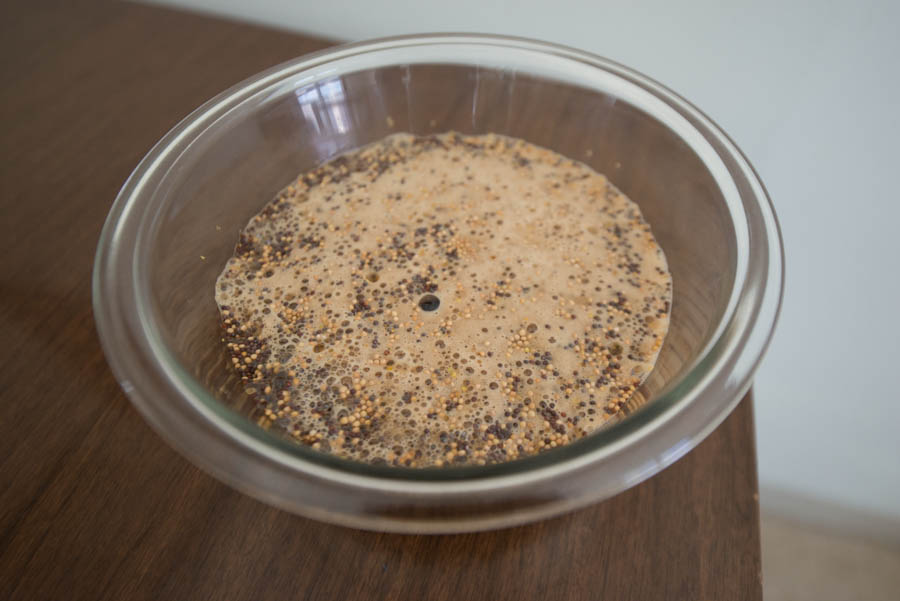
The yellow mustard just after blending it.
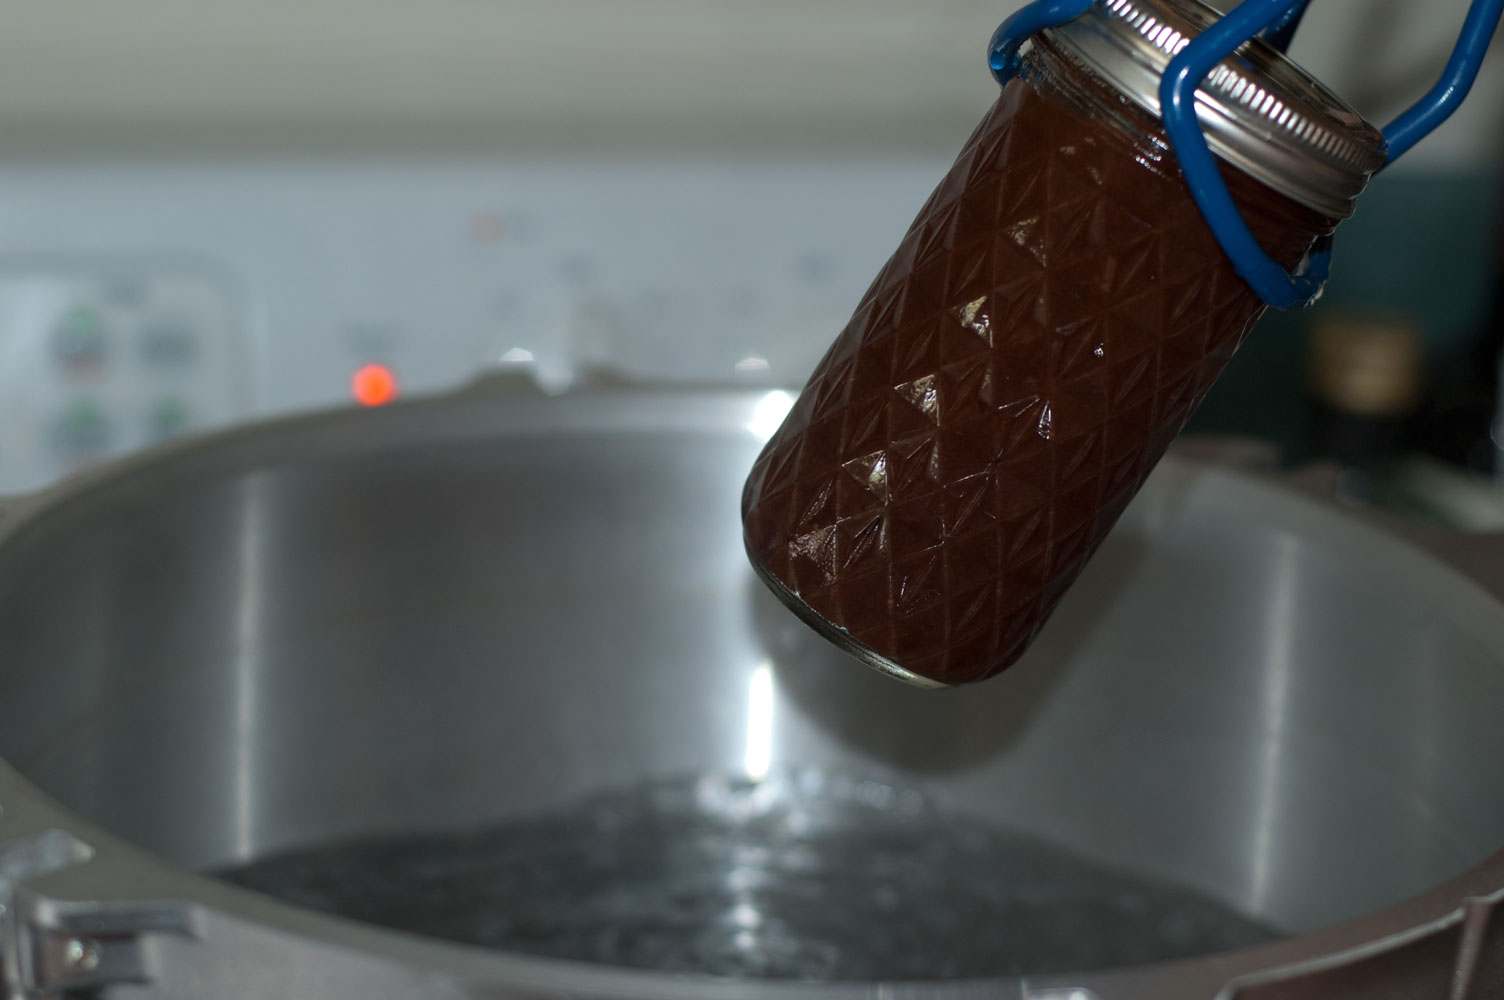
The Stock
This is round three of making this stock. We made a double batch because we ran through the results of our last canning session quite quickly. We’ve used this same recipe as the base on all three efforts. Here’s my last blog on the second go at this. After the first effort, I added a step of browning the veggies and forming a nice fond on the bottom of the pot prior to adding the water and the herbs. This added a nice rich flavor to the stock. I suggest adding this step if you have a good stainless steel dutch oven.
On this attempt, we threw in some dried shiitake mushrooms. The mushrooms add a nice solid earthiness. We threw the resulting broth in the pressure canner. All the cans came out as expected. All the jars let out their chorus of pops minutes after being removed from the canner. I will use this both to make cream of mushroom soup next week. I have a special place in my heart for that not so great Campbell’s variety. I am excited to see what cream of mushroom soup is like when made with fresh ingredients.

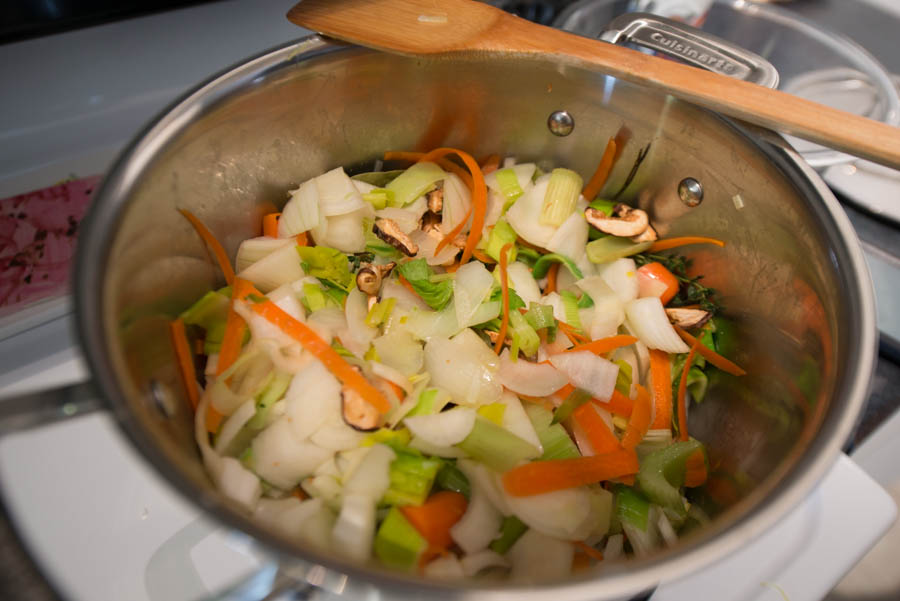
Here’s the veggies that we cooked down into stock. The last time we made this stock, we didn’t add the mushrooms. Those really added a lot of flavor.

Here’s the veggie broth fresh out of the pressure canner.
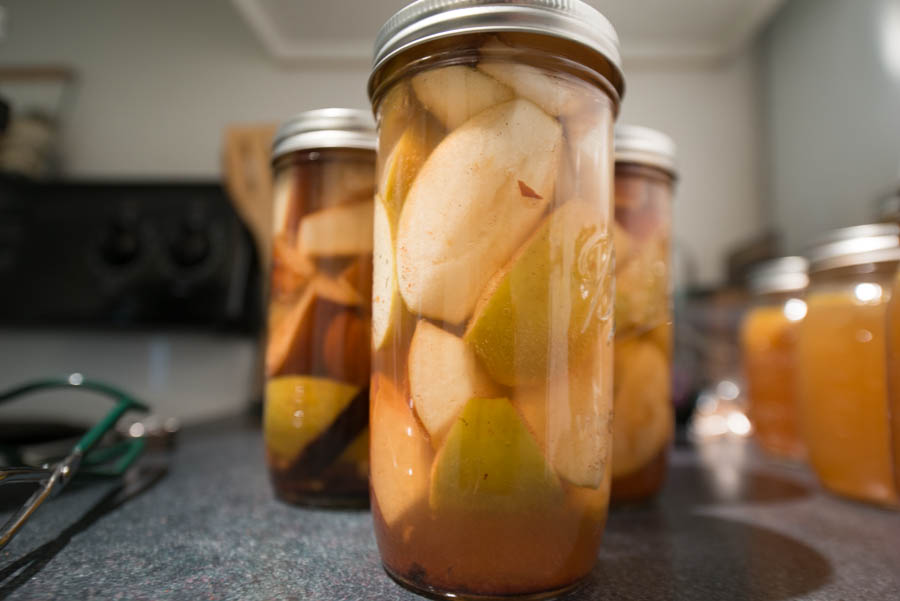
The Apples and Pears If you’ve been reading the blog, you know that we canned spiced peaches last summer. You can read about it here. In hindsight, we did some things well but others could use improvement. Adding teas to a few of the jars of peaches, was a stellar idea. Throwing the spices directly into the jars had some unintended consequences, that we would like to avoid. Last year, we threw about a quarter of a vanilla bean, an inch long cinnamon stick, five pepper corns, two cardamom pods, and one star anise in the jars. We pack a few jars with just cinnamon or just vanilla. Here’s what we learned.
- Star anise or cardamom in those quantities would completely over-power the vanilla and cinnamon
- The cinnamon stick would become a bit astringent, which of course, was only noticeable in the cinnamon only jars as the flavor was over-powered in the mixed spice jars
- While we put roughly the same amount of spice in each jar, star anise and cardamom are natural things, so the resulting flavor varied significantly from jar to jar of the mixed spice jars
- If the goal was to produce the over-all impression of Chai spices we forgot ginger
Given that we want to pack peaches again, we wanted to try and rectify the issues that I’ve listed above. We decided to make a spiced simple syrup. Approaching the spices in this way should enable us to have consistent flavor from jar to jar. It should also allow us to balance the spices. We decided to get some apples and pears to can as a test run. We produced about 6 pint and a half jars. We made a simple syrup that ended up being one part sugar to three parts water. The spices that went in the syrup was as follows.
- Half a star anise
- Three cardamom pods (which we decided could be taken back to two)
- A whole vanilla bean
- 1 teaspoon of ground Saigon cinnamon
- one inch of sliced ginger root
Being able to adjust the flavors in the syrup is a huge improvement over our past approach to canning spiced peaches. We will be spicing the syrup when we can peaches this summer. I tried the apples and pears the day after we canned. They have a very nice balance of spice, and the sweetness is perfect. The taste of the apples and pears come through and the spices are a subtle addition. BOOM! Problem solved.
Ok, summer. We are ready for you.

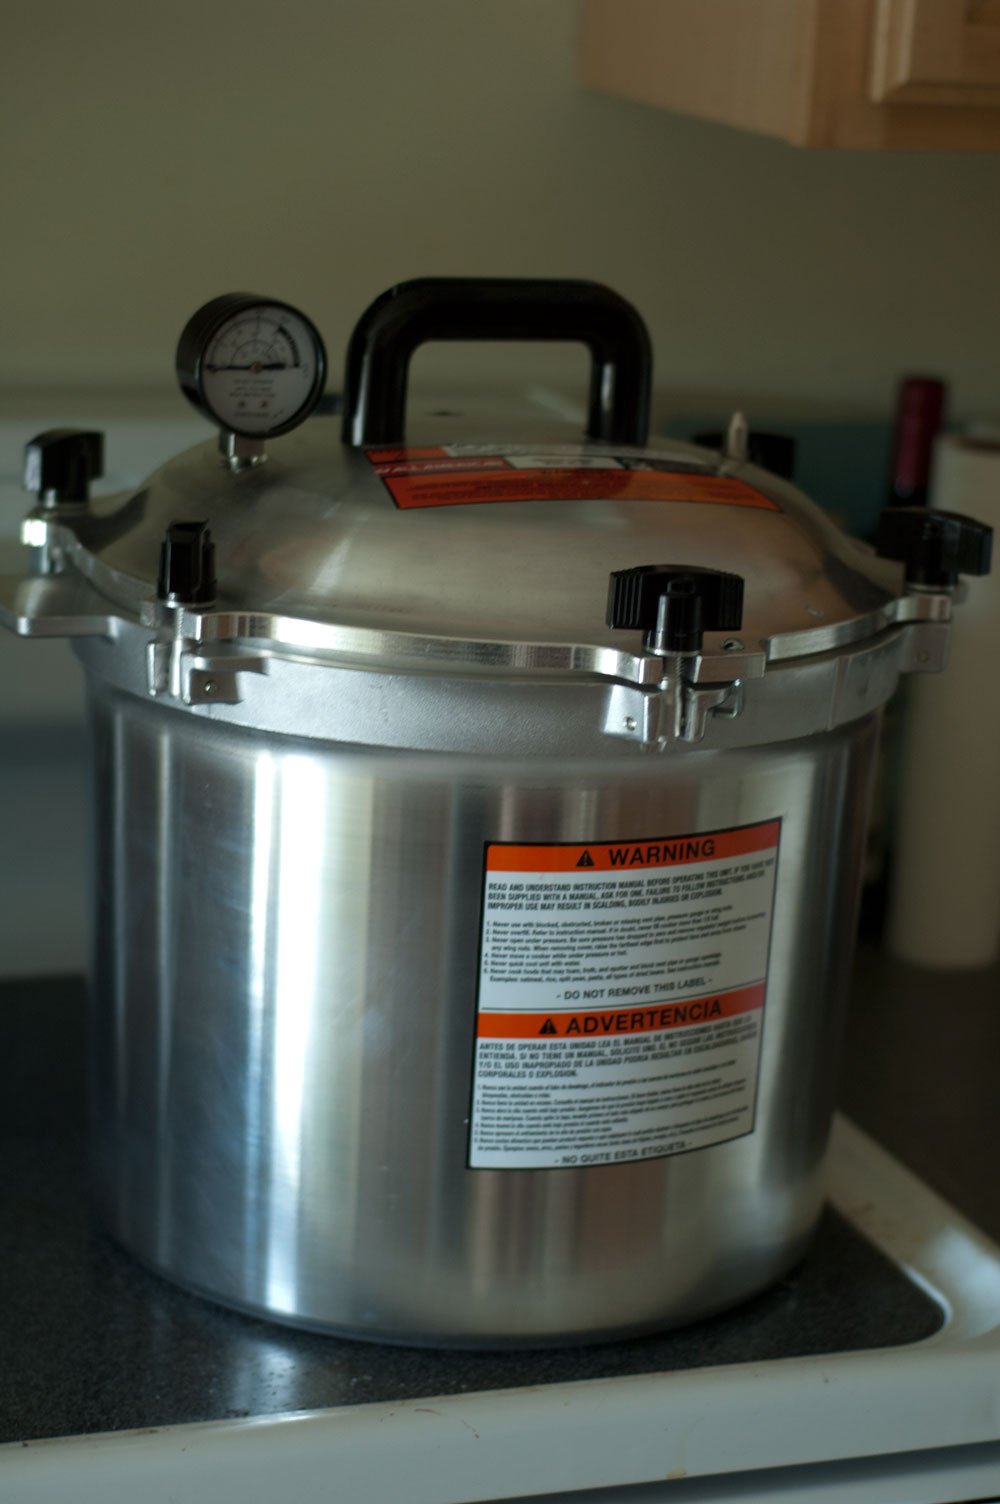
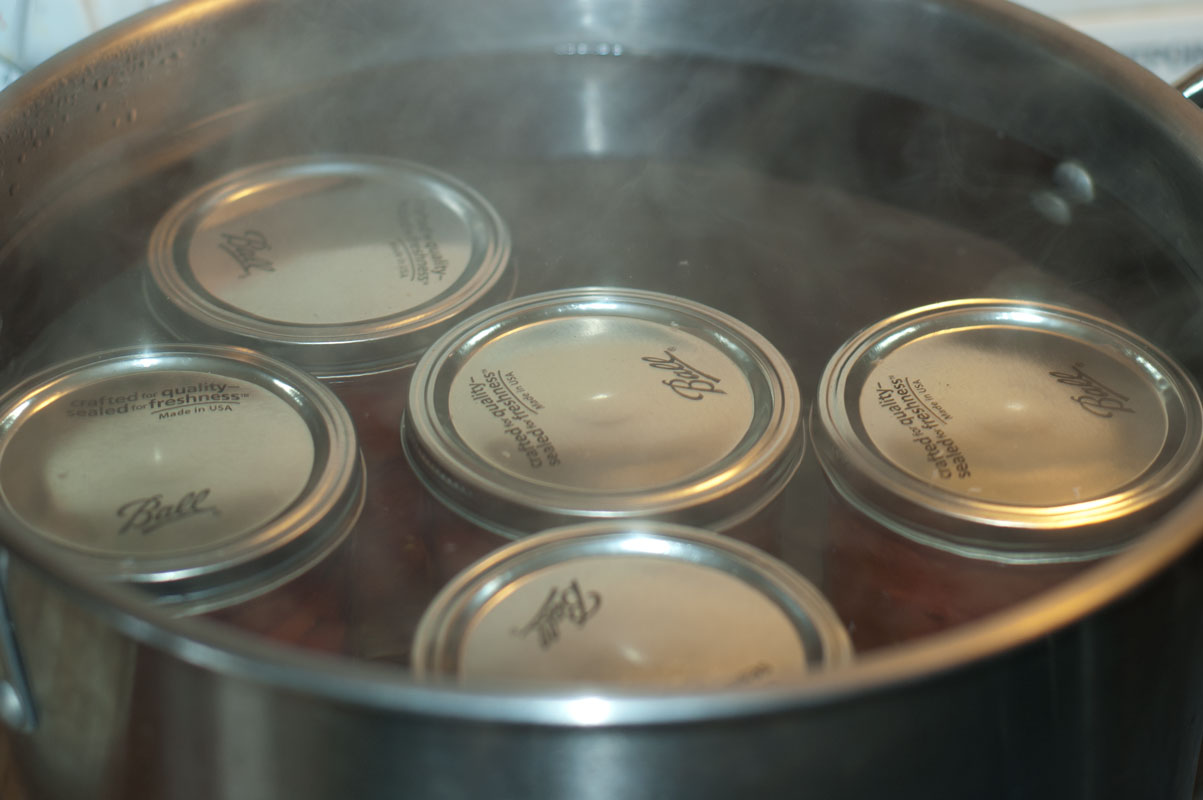
Here’s the pressure canner with the pears and apples in it. We just sealed those with a water bath as opposed to pressure, like was necessary with the broth.

Here’s our spiced apples and pears. The pears ended up with a perfect texture. The apples ended up a little soft. The spice levels were outstanding.