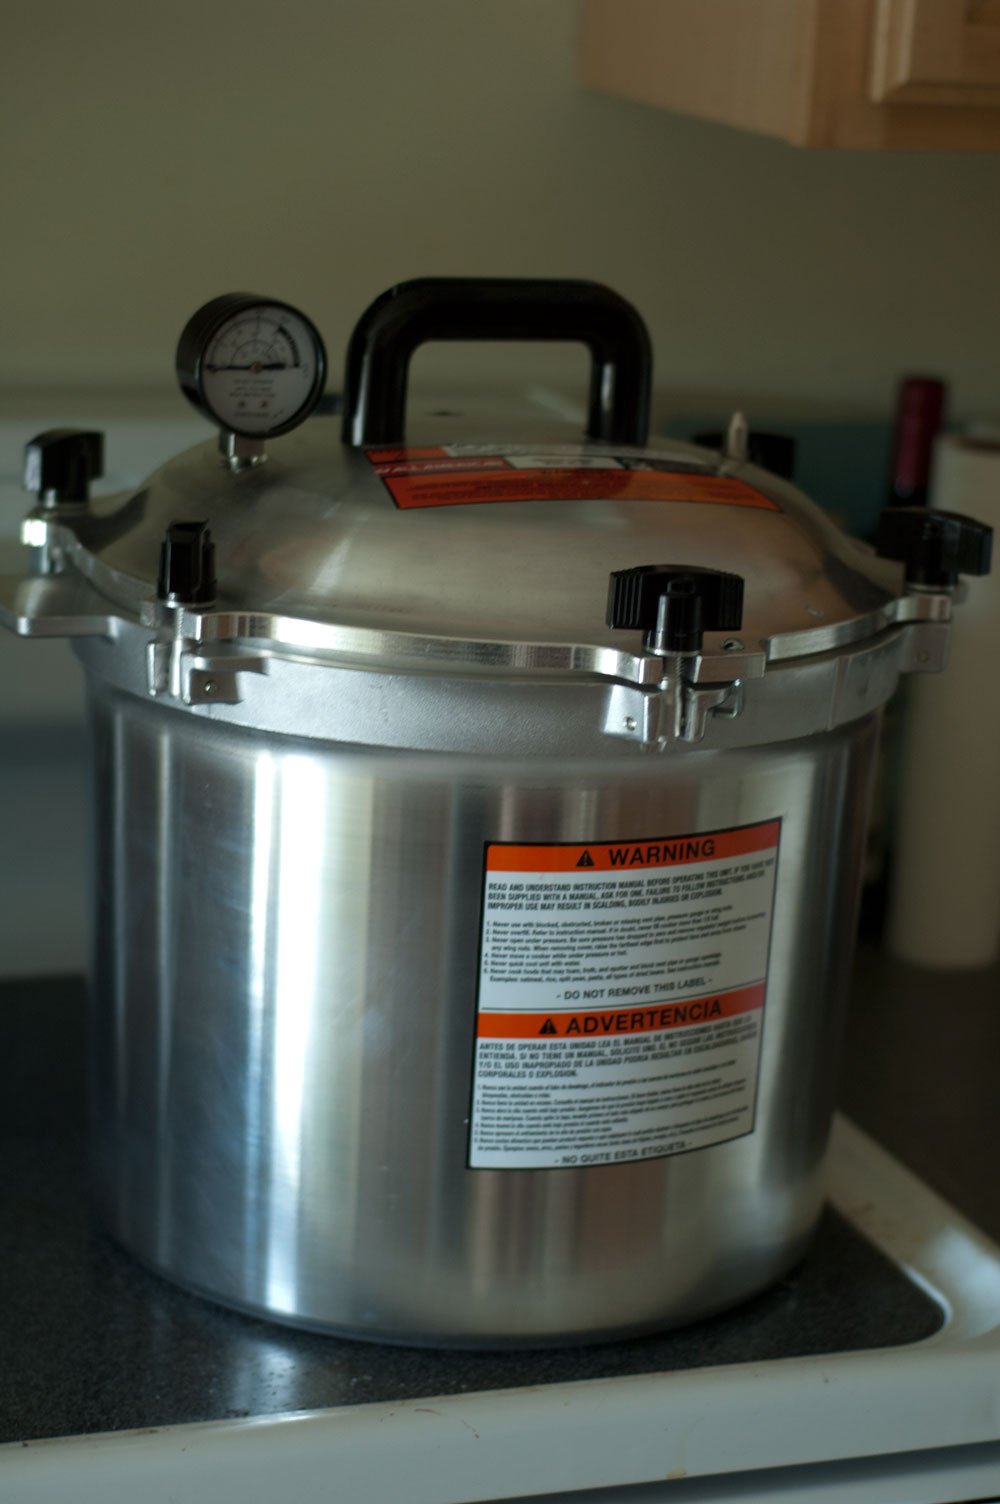
Kate's Queen City Notes

Blundering through Cincinnati, laughing all the way


1 Comment

The Holy Trinity of Soup and a Pressure Canner

The beast.

The beast.

As mentioned in a previous blog, it’s canning off season, and the polar vortext has left me, a skier and winter lover, stuck inside. What do I do with time on my hands? I cook stuff.

I’ve been considering making my own veggie stock. I use it in several recipes, and I’ve noticed that the most obvious flavor that most veggie stocks impart is salt. They are salty. I don’t taste much else there.

I’ve wondered how much my recipes would improve if I had some kick-ass veggie broth instead of mega-salty water. I hunted broth recipes. I’ve not made this before, so I didn’t know what I was looking for. I was armed with one bit of knowledge. The holy trinity of veggie soup flavor is garlic, celery and onion.

I found this. http://www.epicurious.com/recipes/food/views/Vegetable-Broth-51212620

Garic? Check. Onion? Check. Celery? Check. Plus, thyme and coriander are wonderful additions. Bonus points for most of the ingredients already present in my fridge.

My first time making this I salted once the broth was finished. I added about 3 teaspoons. That was salty enought to accentuate the flavors, but not so much that it over powered the veggies. Otherwise I didn’t wander from the recipe. The broth didn’t have much flavor. But then, I don’t imagine broths are supposed to have much flavor. Isn’t that why you add stuff to them for soups and use them as a base for other stuff?

The real test of the broth would come the first time I used in a recipe. My first use cases were in a recipe for peanut thai noodles and then pineapple curry. Both were super, but the recipes only called for a half a cup of broth. Given this insignificant amount as compared to other ingredients, I didn’t notice an earth shattering difference. But when I used the broth in pumpkin curry soup, I noticed. It just made the soup have a little more depth. That soup is already spectacular; the homemade broth bumped it up.

My first run out with the broth was successful enough that I wanted more. On my second batch, I browned the veggies and got a nice fond on the bottom of my pot before deglazing with the 3 quarts of water. This minor step both brought a nice color to the broth and also imparted a great flavor. I will continue with this modification.

When I make my third batch of broth I will make another addition. Mushrooms. I think the earthy addition will round out the flavor and make this broth a go to for cream of mushroom soup. Yum. I can’t wait to try this.

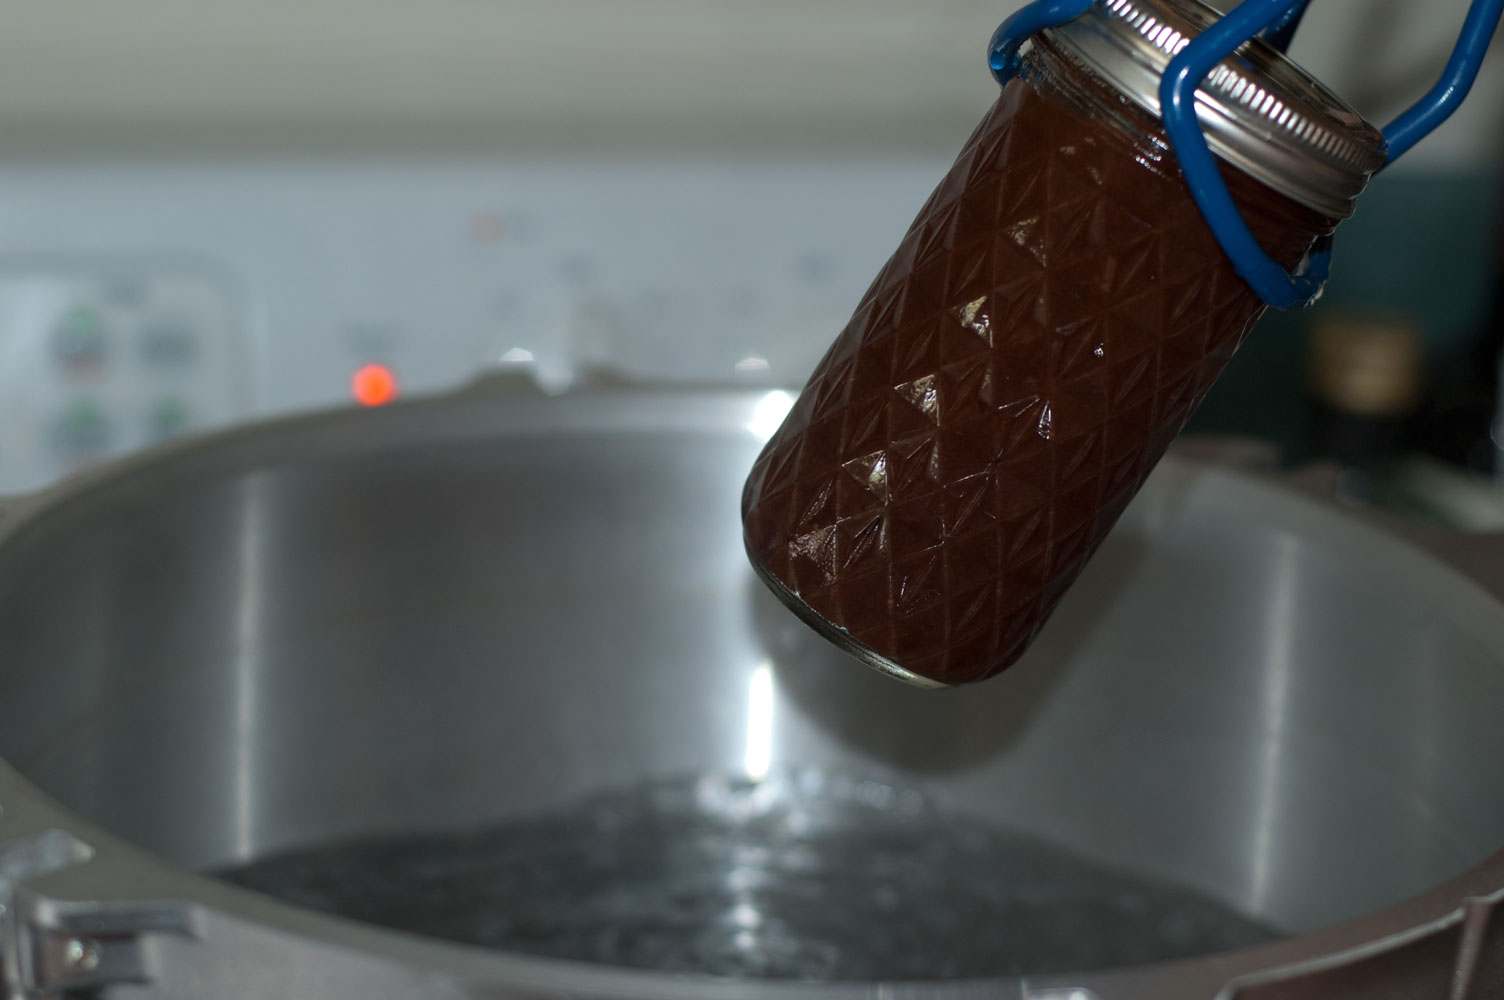
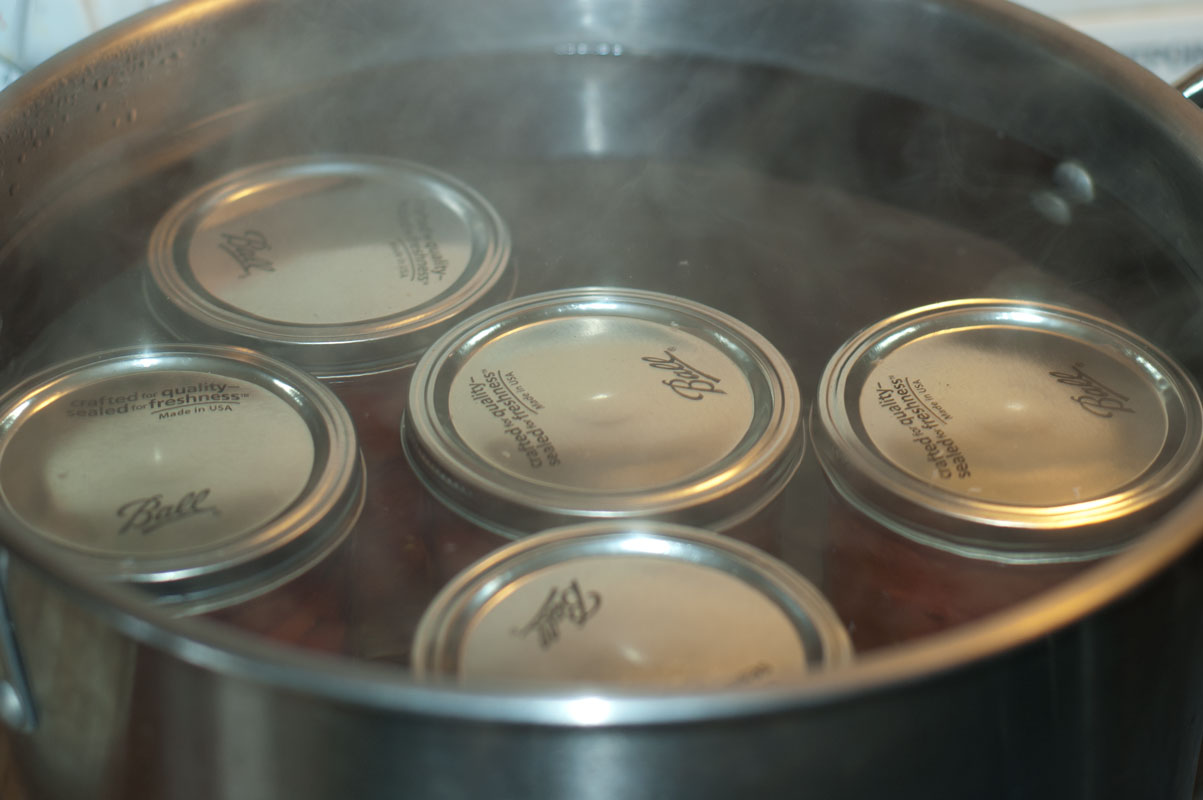
Broth requires pressure canning. I didn’t pressure can my first batch of broth. I poured some of it into ice cube trays and the rest went into 1.5 pint jars. Broth ice cubes were a stroke of genius on my part. I have a number of recipes that call for a small amount of broth (less than a cup). My 1.5 pint jars carry too much liquid to thaw a whole jar and only use a half a cup.

We pressure canned the second batch. It was as much an experiement as it was a necessity. It simply isn’t that difficult to store 3 quarts of broth in the freezer, unless you are some sort of food hoarder. (I just thought of what it must smell like in the home of a food hoarder and grossed myself out.) The pressure canning went fine. I don’t know that I will find time to replenish my veggie stock once we hit canning season, but I am sure I will miss it when I return to using those little cubes of salt that pass for bullion.


1 Comment

Food Unicorn: Tasty Tofu

Ohio doesn’t have much local produce this time of year, and the polar vortex has kept me from outdoor activities like skiing and biking. Holed up in my home for weeks, I’ve been enjoying the canning off-season by making some new recipes. Here’s a couple of my favorites.

My partner is a vegetarian. She’s a vegetarian that doesn’t like vegetables. She’s been working to expand her palate though, so I’m not complaining. I’m just setting the scene. While I am a omnivore, I don’t cook with meat at home. All of these things lead to us eating many meat substitutes. I like Gardein, Quorn, MorningStar Farms, tempeh, seitan, and others. Notice, tofu is not in that list.

Tofu, without modification, achieves something unthinkable. It tastes like nothing, while simultaneously being unpleasant. I don’t know how something that lacks taste can be gross, but tofu manages it. My tofu arithmetic: no flavor + no texture = bleck.

Then I found this. http://www.daringgourmet.com/2013/02/27/thai-peanut-tofu-noodles/ This recipe has all the things that I love: fresh ginger, peanut butter, noodles, noodles, garlic, carrots, chilis, and green onions. Whip all of this up and top with Sriracha, and I am in heaven. But that tofu.

The first time I try a recipe, I always make it exactly as instructed. I like to start with a baseline before I customize it to my taste. This recipe was no different, in spite of my troubled past with tofu.

Imagine my surprise at finding this method of tofu preparation quite good. Let’s be honest, when you salt the shit out of something it will taste pretty good. This tofu treatment is a testament to that. The sherry, sesame oil, and soy combo add some nice complexity to round out the salt in the soy. The sesame oil imparts a great nuttiness, and the soy brings much needed umami to the tofu.

Pairing this salty, nutty tofu with the peanut sauce in this recipe is heaven. I’ve made this compulsively since I discovered it. If it didn’t feel too self-indulgent, I would have a bowl of these noodles in my fridge at all times.

I liked this tofu so well that I added it to this recipe too. http://www.monsoonspice.com/2009/03/tofu-pineapple-thai-yellow-curry.html

I bake the tofu separately and top the curry with it. The coconut-based sauce is sweet. The baked tofu is salty. Top this with a bit of Sriracha or some Thai chilis, and you have a the sweet, salty, spicy trifecta that Thai food nails.

These recipes led me on a couple of other food adventures that I will save for a subsequent blog. Coming up… canning homemade veggie stock, homemade mustard, and making nut butters.


Leave a comment

Pressure Canning: Shit Just Got Real

I have been canning for a few years. I knew this day would come. I bought a pressure canner. Pumpkin is what sealed this deal. Stocks and meats just don’t excite me like pumpkin. When faced with the possibility of using that sad, metallic-tasting paste that comes out of a can for another year, I went to the internets in search of pressure canners.

The first thing you should know about this canner is that it looks like it is not to be trifled with. The second thing you should know is that after perusing the directions I became anxious that I could literally cause an explosion in my kitchen. Looks, in this case, were not deceiving.

Pressure Canner

THE BEAST!

This was our most ambitious canning session to date. We planned to can a couple of varieties of apple sauce, apple butter, pumpkin butter, and pumpkin cubes. Note that we chose to can cubes because it’s not advisable to can pumpkin puree at home. The cubes will just need to be run through my food processor before they are added to my favorite recipes.

We started off with a half bushel of apples and nine pumpkins. Here’s the recipes/instructions for what we did.

Big pot of apples.

Here’s the apples when we were cooking them down. After this we put the apples through a food mill. We brought the resulting sauce back to boiling before canning it.

Here's the apples after we processed about half of them.

Here’s the apples after we processed about half of them.

These pumpkins looked amazing.

These pumpkins looked amazing.

Pumpkin cubes: http://edis.ifas.ufl.edu/he266

Apple sauce: http://www.freshpreserving.com/recipe.aspx?r=126 (we made half the batch plain as instructed here except with less sugar. We got golden delicious apples, and they were pretty sweet without the sugar. We made the other half the batch with cinnamon and vanilla bean w/ seeds.

Apple butter: http://www.canningacrossamerica.com/recipes/apple-butter/

Pumpkin butter: http://allrecipes.com/recipe/pumpkin-butter/

Here’s the random things that we learned. I think we accidentally put 2 tsps of nutmeg in the pumpkin butter as opposed to the 1 tsp that the recipe called for. Two tsps is great if you want the nutmeg to overwhelm all the other flavors including the pumpkin. (FAIL) The pumpkin butter thickened really quickly on the stove. I don’t think we cooked it for more than 20 minutes, and in that time the concoction got much darker and thicker.

Finished jars of apple butter.

Finished jars of apple butter.

Here's a jar of apple butter coming out of the pot after processing.

Here’s a jar of apple butter coming out of the pot after processing.

The apple sauce was excellent. It was so excellent that we needed to stop ourselves from eating it before it made to the jars. If we do another fall canning session, it will be to do more apple sauce.

The pumpkin that we canned bears almost no resemblance to what comes out of store-bought cans. The color is a bright yellow and the flavor is closer to acorn or butternut squash. This made me wonder what they do to the pumpkin to get it that color and to get that mealy flavor. I don’t know if you have ever eaten a spoonful of pumpkin from the can, but it has that non-taste that commercial baby food often has. The pumpkin that we put in the jars had this slightly sweet, creamy flavor.

Image

I mentioned in a past blog that I get my produce for canning at the Lunken Airport farmers market (if you aren’t from Cincinnati just ignore that last sentence). The people who go there aren’t wholesalers; they are the actual farmers. For what they may lack in customer service skills, they more than make up for it with knowledge about the produce. The old curmudgeon farmer that I work with most often, while doubtful of my intentions at first, has now warmed to my tattooed self. It seems like I keep clearing hurdles with him. On my pumpkin purchase, he seemed pleased that I recognized the pie pumpkins from the mess of decorative gourds and pumpkins.

While we were bagging up my pumpkins he pointed to a huge green and white mottled gourd. He asked if I had ever made pie with one of those. I said no, because I had never seen this type of gourd before. He pushed his vintage (NOT RETRO) John Deere hat further back on his head and said, “Once you make pie with one of those, you’ll never want a pumpkin again.” I have heard of a gourd that is fabled to be more tasty than pumpkin. I’m pretty sure curmudgeon farmer just pointed out my gourd Moby Dick. Needless to say I will be going back next week to get one of those gourds. Be on the look out for the Moby Dick gourd blog post next week.


Leave a comment

Canning Tomatoes and Old Curmudgeons

I am not wholly convinced that the plastic that lines tomato cans will kill me, but why take chances when I like canning? We did two rounds of tomato canning. We canned Brandywine and other heirloom varieties in round one. We canned standard  non-heirloom tomatoes in round two. Below I will summarize how we did it.

Toms

Tomatoes from the old curmudgeon farmer.

Here’s what we used

Salt

Lemon juice (for the citric acid)

Very hot water

Tomatoes

3 cases of 1 1/2 pint wide-mouth ball jars

Thyme

Rosemary

Oregano

Curry spices

Crushed garlic cloves

Herbs

Here’s the herbs we used. They were gathered from my friend’s garden.

Like my peach canning blog, I will break this blog up into 4 functional groups. Bear in mind that at any given point in the canning process we probably had jars in all functional states.

Sanitizing the Jars

The first step in the process is making sure your jars are sanitary and ready for fruit. In our past jamming sessions we let the jars boil in water for several minutes to kill the microscopic critters. After some internet searching, we found that you can also put the glass jars in the oven for 20 minutes at 250 degrees. We used the oven technique for our tomato jars, partially because the jars a bigger would be more difficult to manage in a pot of boiling water. This also freed-up an all-important heating element on the stove. We sanitized our rings and lids in boiling water.

Processing the Tomatoes

To skin the tomatoes, we dropped them in boiling water for about 2 minutes. Then we put them in an ice bath for a minute. This allowed easy removal of the skins. This was probably the most laborious part of the process. Our tomatoes were a little large, so we quartered them to enable us to fit them in the jars.

Assembling the Jars

We put the desired herbs and spices in the jars. Then we packed the tomatoes in. We topped all the jars with one teaspoon of salt and two tablespoons of lemon juice. Then will filled the jars with boiling water leaving about a half inch breathing room at the top of each jar. We made three different varieties. We packed some with curry spices (these spices were a combo of mustard seeds, coriander seeds, cumin seeds and such that had been bloomed). We packed some with rosemary and garlic. We packed some with thyme, oregano, and garlic. We were thinking that the oregano and thyme variety would be well used in pasta sauces. The rosemary variety would be a great base for a tomato soups. They curry will be used for curry, of course.

Sealing the Jars

We put the jars in boiling water for 45 minutes. All the jars sealed perfectly.

Jars

Here’s what the processing jars looked like in the pot.

A Word about Heirloom vs Plum vs Standard Tomatoes

Since we canned a few varieties, I thought I would comment on the differences between them. The standard and Plum tomatoes skinned the easiest. They were a breeze. The heirlooms were more difficult to skin and were generally more delicate to handle. They were also considerably more expensive. Unless I taste heaven in those heirloom jars when I crack them open, I won’t be canning those again. The heirlooms were about 40 bucks for roughly 10 lbs. I got lucky with the standard tomatoes. I got a tip to try the framers market at Lunken Airport (if you aren’t a Cincinnati native this will mean nothing to you). And those folks are the real deal out there. There’s a parking lot where trucks pull up; the people selling are clearly the growers. Upon my approach I was listening to a BMW driver fussing about what bag his produce is put in. Watching this guy in loafers and seersucker shorts get cranky over the size of his brown paper bag made me miss providing customer service in no way whatsoever. I approached an old curmudgeon farmer just beyond seersucker. Now reader, you should know what I look like to fully grasp the interaction to follow. I am tattooed. My hair is buzzed off into a very short mohawk. I am 37, but people seem to guess me as younger than that. I asked the farmer how much for 25lbs of tomatoes. His eyes narrowed into a hard look. After a pause that was too long for comfort, he asked what I was using them for. I said canning. Disbelief quickly followed by a little burgeoning esteem for me flashed across his face.  He leaned back and hollered to the farmer next to him. After a brief conversation he brought out a half-bushel basket of tomatoes from the truck. He had prepared the basket for someone else who failed to show. The tomatoes had minor blemishes making them perfect for canning and at a discounted price. I paid 10 bucks for 25lbs of tomatoes. AWESOME.

Walnut the cat

This is Walnut the cat. He did his best to be underfoot while we canned. He also offered unsolicited mews at regular intervals.

Finished jar

Finished jar with thyme, oregano, and garlic

I might update this blog when I sample the tomatoes that we canned. I have some recipes coming up that will cause me to crack open some jars.


1 Comment

Adventures in Cooking: Canning Peaches

Neither of my grandmothers cooked much with processed/packaged foods; this is more to do with their age than an ideology. I canned jams and jellies with my dad’s mom until I was school-aged. I grew up eating homemade breads, jellies, jams, and assorted baked goods. It made me picky. I started making my own jams because I grew dissatisfied with store-bought. This little taste of canning made me bold.

A good friend and I got a basket of South Carolina peaches, a mess of jars, and an assortment of spices. We were unsure how well any of this was going to work. Here’s what we started with.

Peaches and jars

Here’s the peaches and jars. That basket was full. We where half way done with processing them at the moment that I snapped this picture.

3-4 vanilla beans

20-20 green cardamom seed pods

15 1 inch cinnamon sticks

20-30 star anise

Several types of chai tea (this will make more sense later)

Several cups of sugar

A few tablespoons of lemon juice

A bottle of bourbon (Ancient Age)

3 cases of 1 1/2 pint wide-mouth ball jars

I’m going to break this up into 4 functional groups. Bear in mind that at any given point in the canning process we probably had jars in all functional states. This is critical to understanding how we managed to do this in about 4 hours.

Sanitizing the Jars

The first step in the process is making sure your jars are sanitary and ready for fruit. In our past jamming sessions we let the jars boil in water for several minutes to kill the microscopic critters. After some internet searching, we found that you can also put the glass jars in the oven for 20 minutes at 250 degrees. We used the oven technique for our peach jars, partially because the jars a bigger would be more difficult to manage in a pot of boiling water. This also freed-up an all-important heating element on the stove. We sanitized our rings and lids in boiling water.

Processing the Peaches

To skin the peaches, we dropped them in boiling water for about 2 minutes. Then we put them in an ice bath for a minute. This allowed easy removal of the skins. This was probably the most laborious part of the process.

Assembling the Jars

We threw the desired spices in the bottom of the jars first. We did a mix of plain vanilla, plain cinnamon, and mixed spices. The jars got roughly one quarter of a vanilla bean, a once inch cinnamon stick, a couple of slightly crushed cardamom pods, and one star anise. We hand packed the peaches in the jars over the spices. Then we poured very hot simple syrup (one quarter sugar to three quarters water) over the peaches. We added 2 tablespoons of bourbon to the jars as desired. We put Indian traditional chai tea in one of the jars, and we put green passion fruit tea in the other. Picture below.

Tea with the peaches

We aren’t sure how the peaches will do with the tea. We have already agreed that we both must be present when the peaches are sampled.

Sealing the Jars

We put the jars in boiling water for 20 minutes. About 9 out of 10 jars came out and sealed nicely. There were a handful that we need to put back in to get them to seal.

Then we waited. I didn’t wait very long. This is partially because I am impatient and partially because I wanted to taste test how we did. We had planned to do another canning session the following weekend. I wanted to know if we should make any adjustments.

I had only eaten commercially canned peaches prior to opening a jar of ours. Eating those peaches was life-altering. Not only do I not understand why no one has commercially canned peaches with some of the spices we used, but I also don’t understand why more people aren’t canning their own peaches. My god. Those were absolutely delicious. I’m ruined for peaches in heavy syrup forever. The simple syrup we used was enough to make the peaches sweet, but not overwhelming. The sugar just complements the flavor of the fruit as opposed to drowning it. I suspect one of the reasons the sweetness in our peaches wasn’t as cloying as commercially canned peaches might be that we used cane sugar as opposed to the high fructose corn syrup.

Some of my friends have offered me money for a jar of our peaches. I am typically generous with our jams. But the peaches. I don’t think I can part with the peaches. My parents will be lucky to get any of the peaches.

Update: we opened the peaches that we packed with tea. They were delicious! We ate them with some homemade vanilla custard. It was divine.